

How To Color Code Files And Folders In Windows 10
How to colour-code files and folders in Windows ten
Use custom colors and icons to go organized
Introduction
Finding your fashion around Windows Explorer can be a tricky concern. Folders requite y'all a tiny preview of the files within, but a tiny sliver of a document is rarely plenty to tell you whether it's the ane you need.
Keeping your files arranged in a logical system of folders will assist, as volition using a consistent method for naming them, merely you could easily spend hours arranging them and end upward with a vast, unwieldy system that takes forever to browse through.
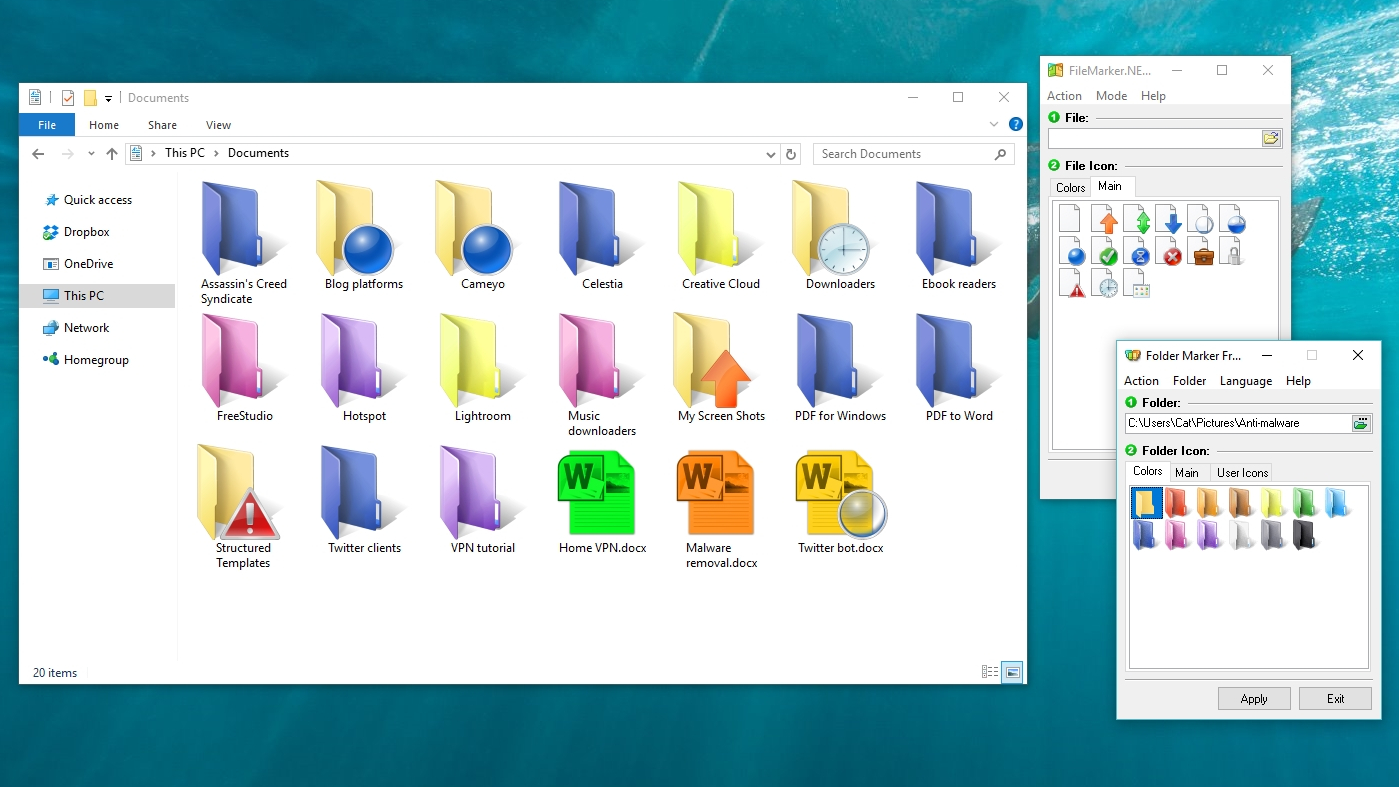
It would be much easier if you lot could characterization everything with a colour, as yous tin can on a Mac. That'due south where Binder Marker Free (opens in new tab) and FileMarker.Net Gratis (opens in new tab) come in. These programs let you assign colours to files and folders, and add extra symbols to point importance or progress. Here's how to get started.
- Want to make the switch to macOS? These are the best Mac tips
1. Do a piffling housework
Earlier you start colour-coding, it's worth taking a footling time to tidy things up by deleting any files that you no longer need, including $.25 left over past software you lot've uninstalled. Besides make sure your files are in the correct folders (photos in Pictures, songs in Music and text files in Documents, for example).
Once any rubbish is removed, make a fill-in of your Documents folder on an external hard drive, or a cloud storage service like DropBox (opens in new tab).
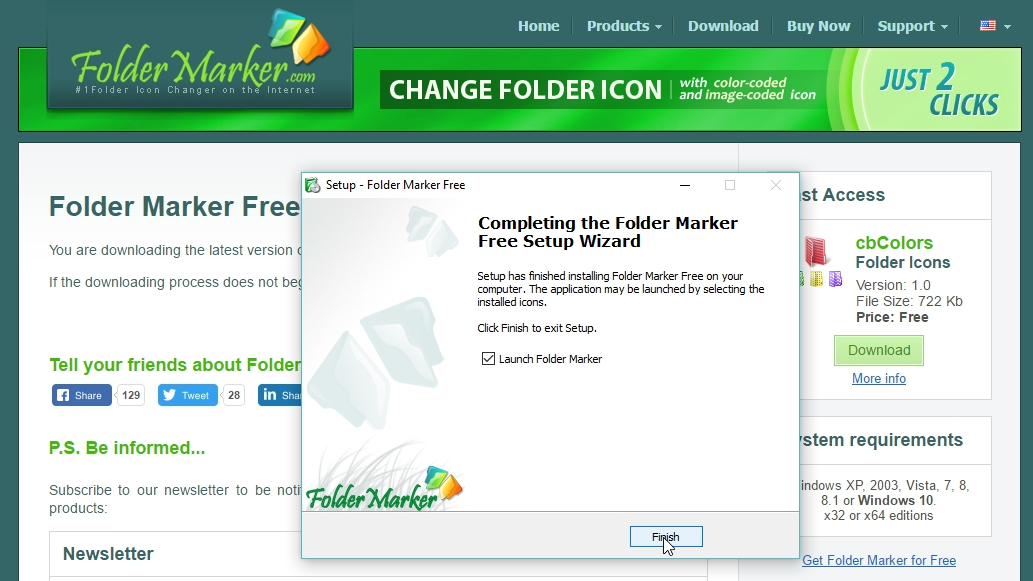
2. Go Folder Marking Free
In one case everything is organised and backed up, download Folder Marker Free (opens in new tab) (brand sure you lot select the version on the correct-mitt side of the folio) and run the installer.
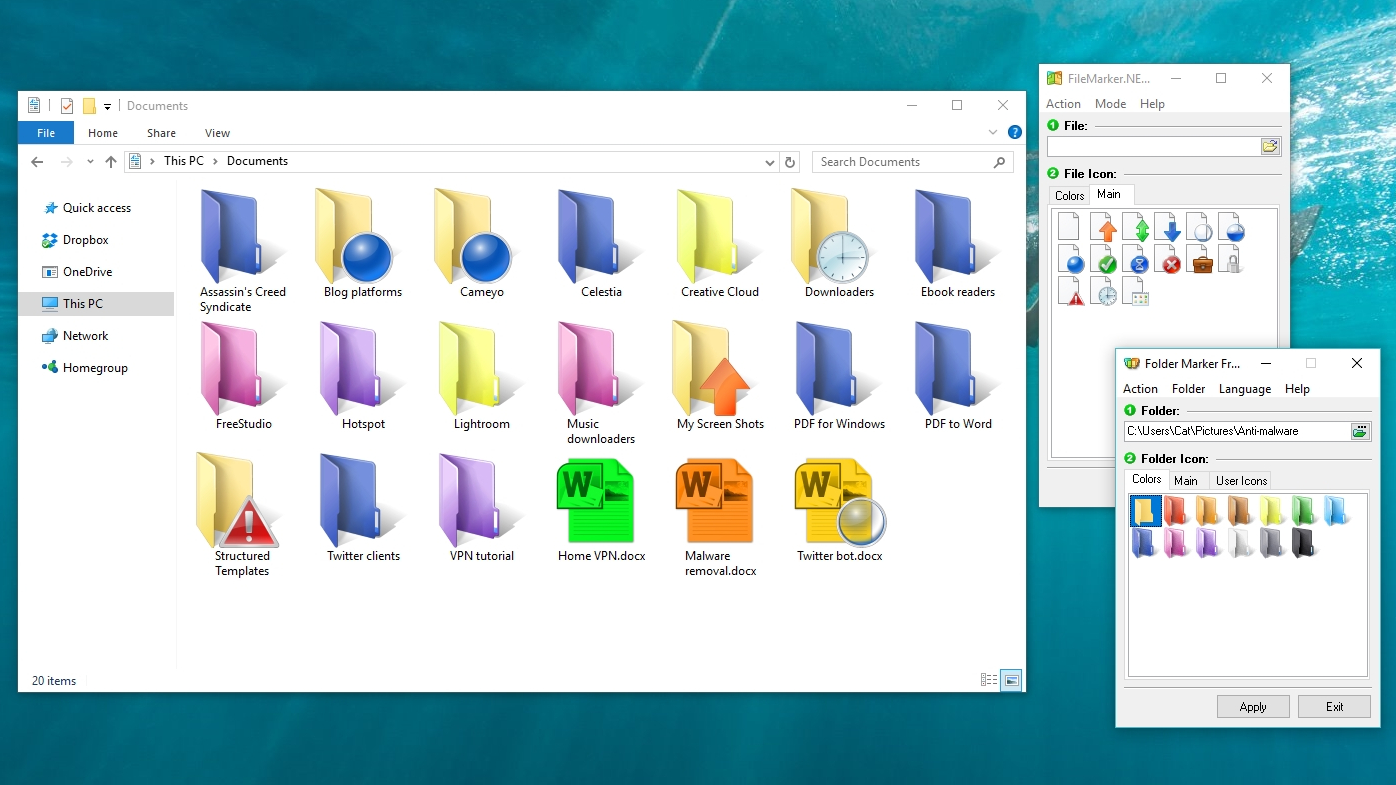
When the program launches for the starting time time, click the Colors tab to see the different hues available for your folders. There are 12 options in the free version of the software, not including Windows' default manila colour.
3. Color your folders
Click the small green '...' icon and cull a binder to colour, then click 'OK'. Pick a colour and click 'Apply', and so open up Windows Explorer to encounter the change.
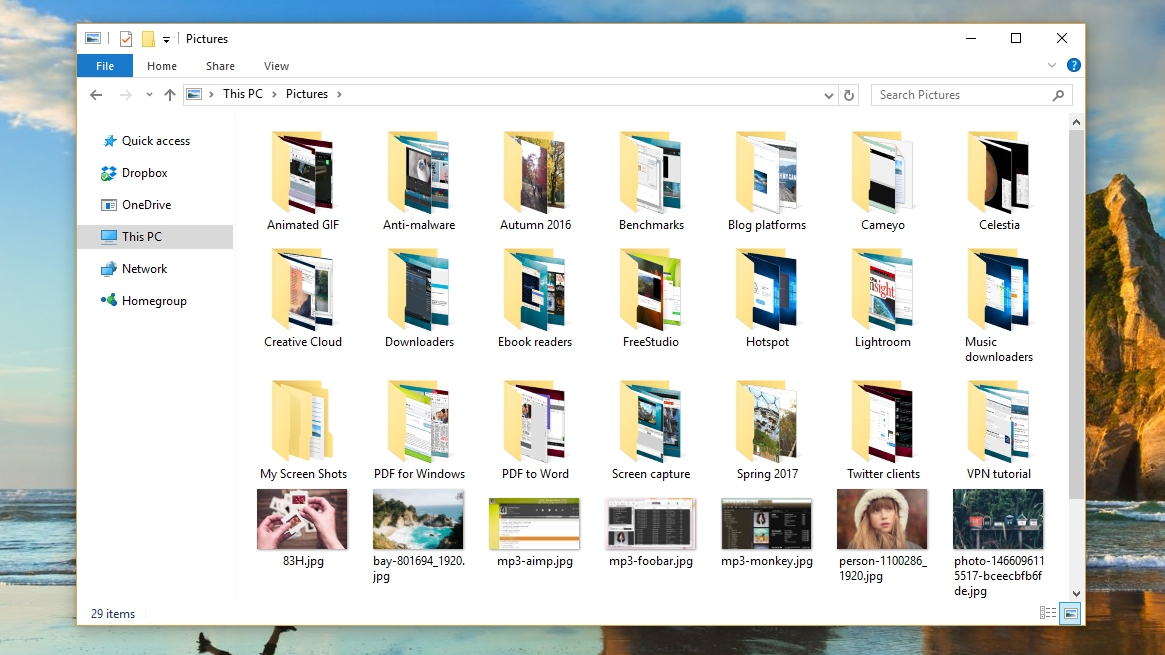
You'll notice that coloured folders don't requite you a preview of their contents like standard Windows folders practice. That's because they're effectively replacing the dynamic 'live' icons with static images. Its a shame, merely is the simply drawback of Folder Marker.
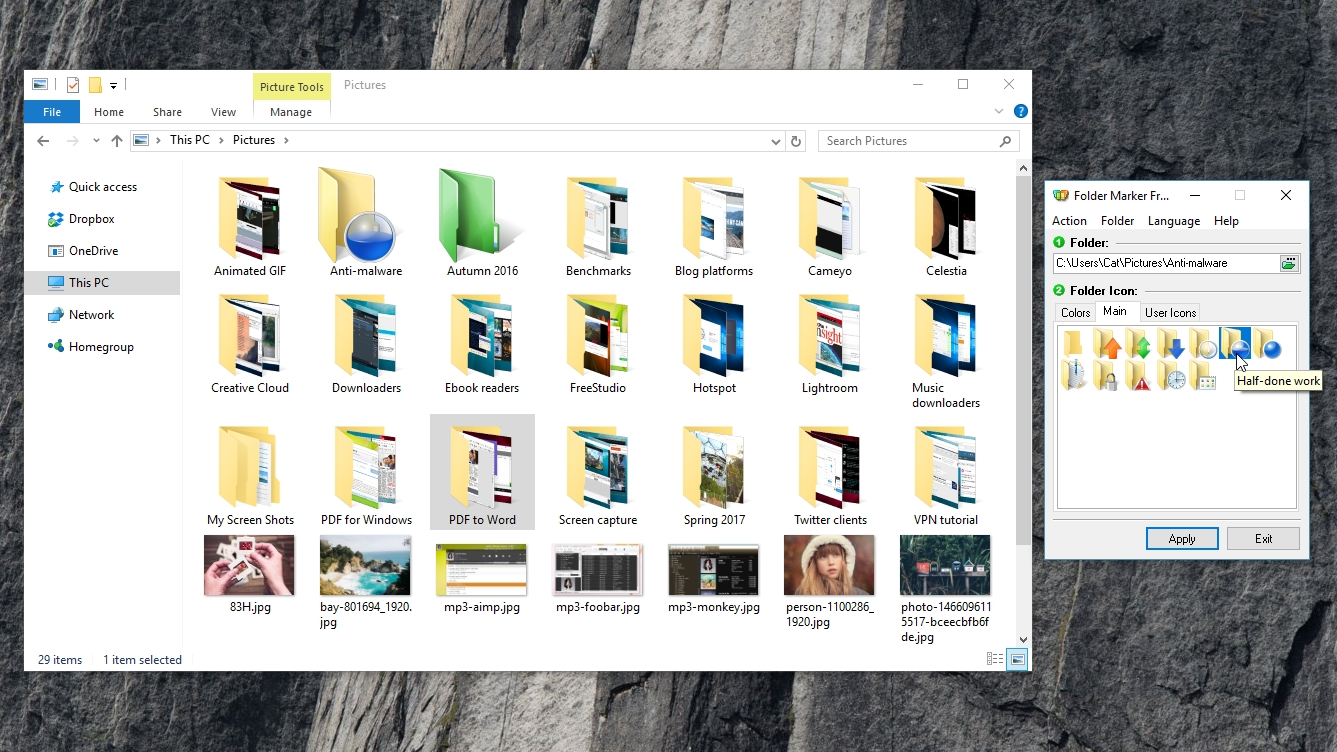
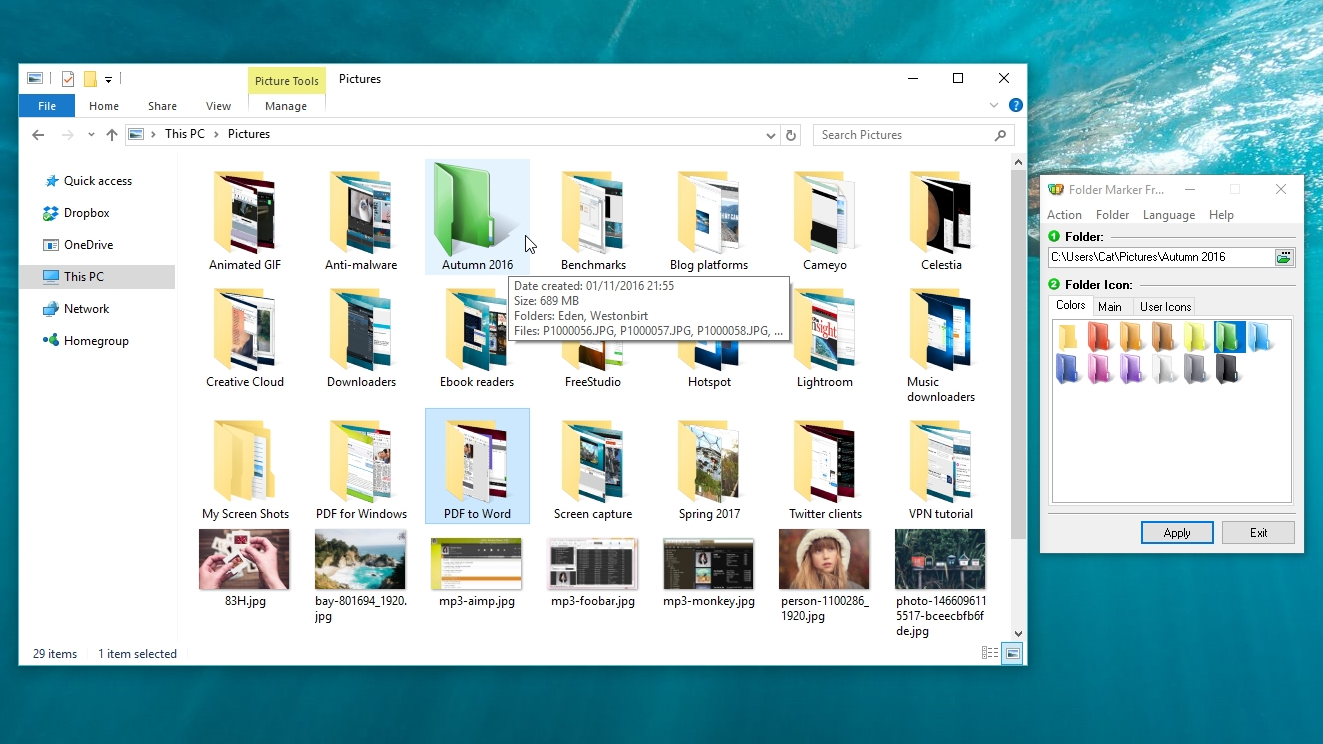
4. Use special icons
Binder Mark also gives you a selection of status icons to use. These include high priority, individual, high importance, and one-half-done work. To use these, select a folder every bit you did in step 3, then click the 'Principal' tab and choose an icon. Click 'Apply', then check the results in Windows Explorer.
Y'all'll find a huge variety of other options if you click the 'User icons' tab, but these are all Windows organization icons aren't really intended for folders. Information technology's best not to use them, to avoid confusion.
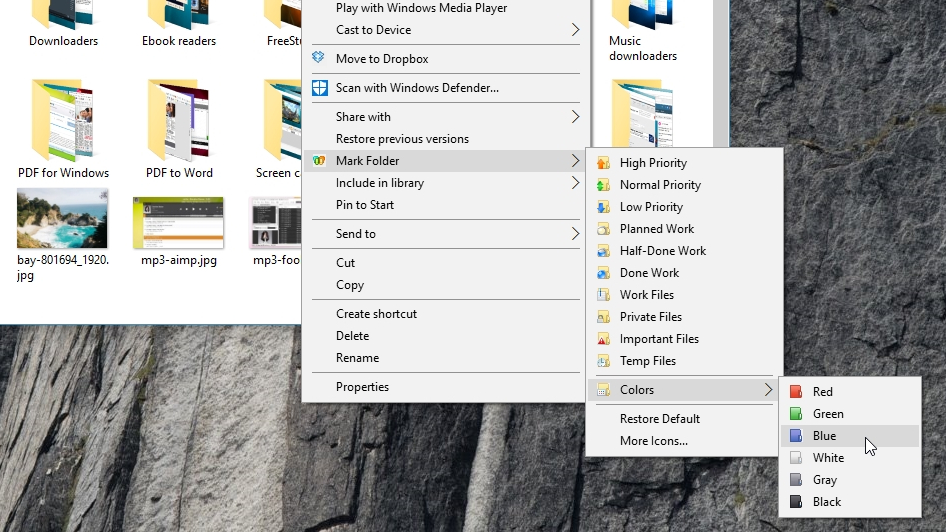
5. Utilise the context menu
Correct-click a folder in Windows Explorer and y'all'll encounter a new selection in the context carte du jour: 'Mark Folder'. This doesn't give you lot as many color and icon options as the main Folder Mark interface, but it'southward faster, and a user-friendly style to update status icons when you've finished a slice of piece of work.
Selecting 'More icons' reveals the full interface, and 'Restore default' undoes any changes you've made.
vi. Marking your files
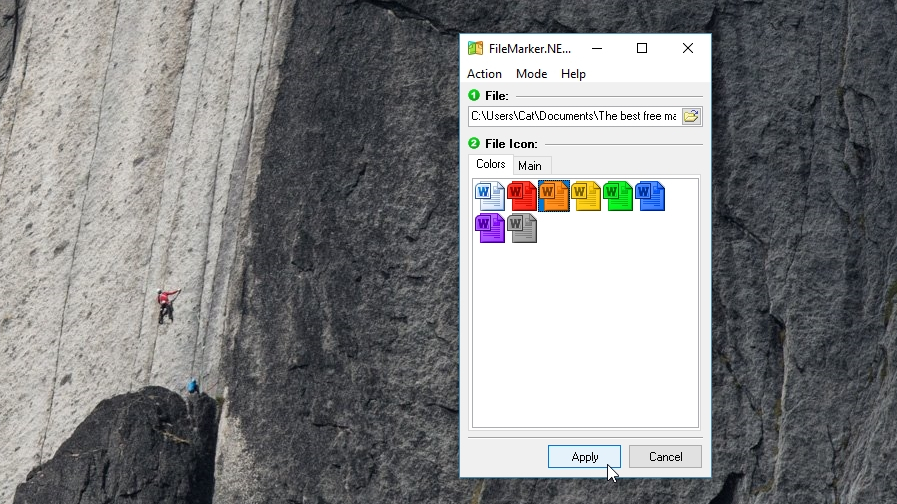
Once you're happy with your folders, information technology's time to move onto files. Download FileMarker.Internet (opens in new tab), again being careful to select the gratuitous version on the right-hand side. Run the installer and let the programme launch one time it's finished.
FileMarker.Net is very similar to Folder Marker, so click the green '...' button, select a file, click and colour and click 'Apply'.
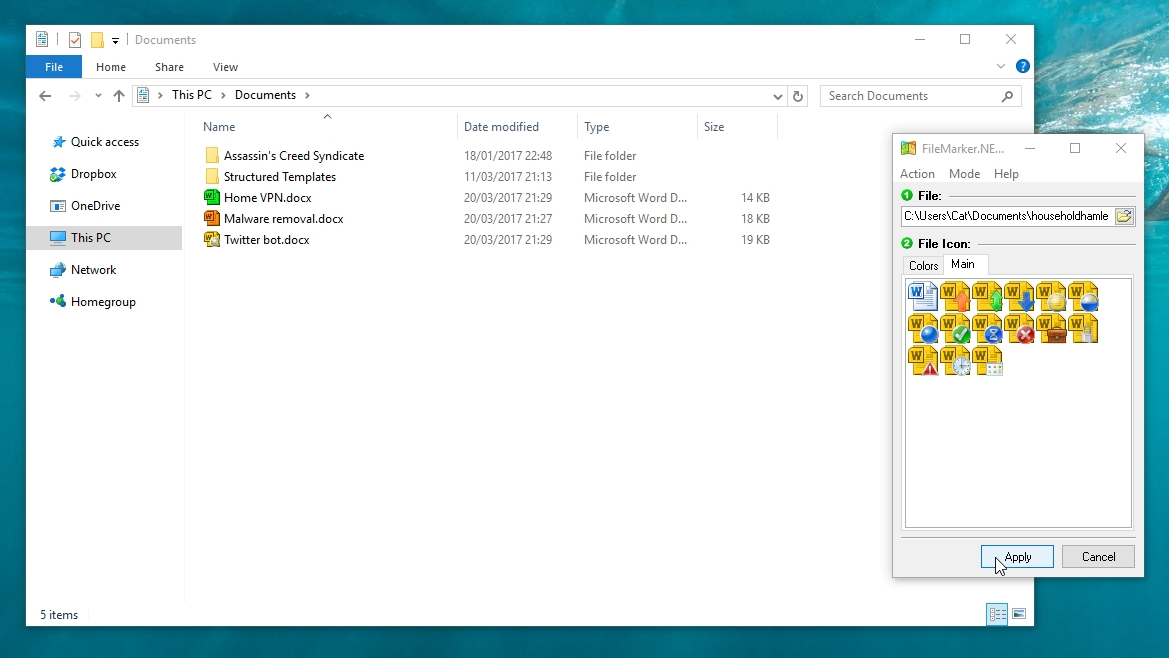
7. Add status icons
FileMarker.NET doesn't piece of work with images (which makes sense, since their icons already testify exactly what they are), but information technology's brilliant for text documents, spreadsheets, databases and presentations, which otherwise look identical.
Open Windows Explorer to see how your re-coloured file looks. You can besides utilize status symbols to files to indicate progress and priority - fifty-fifty if you've re-coloured the file icon.
8. Brand your own arrangement
You at present have all the tools yous demand to get your files and folders organised in a way that suits you. Y'all want your photos from last year? Easy - they're all in purple folders, sorted by location. How about the presentation that'south due tomorrow? Information technology's in your ruby work folder, marked as important.
You'll never exist stuck hunting through Windows Explorer again.

True cat is the editor of TechRadar's sister site Advnture. She's a UK Athletics qualified run leader, and in her spare fourth dimension enjoys nothing more than lacing upwards her shoes and hitting the roads and trails (the muddier, the better)
Source: https://www.techradar.com/how-to/how-to-color-code-files-and-folders-in-windows-10
Posted by: volpesether90.blogspot.com
0 Response to "How To Color Code Files And Folders In Windows 10"
Post a Comment